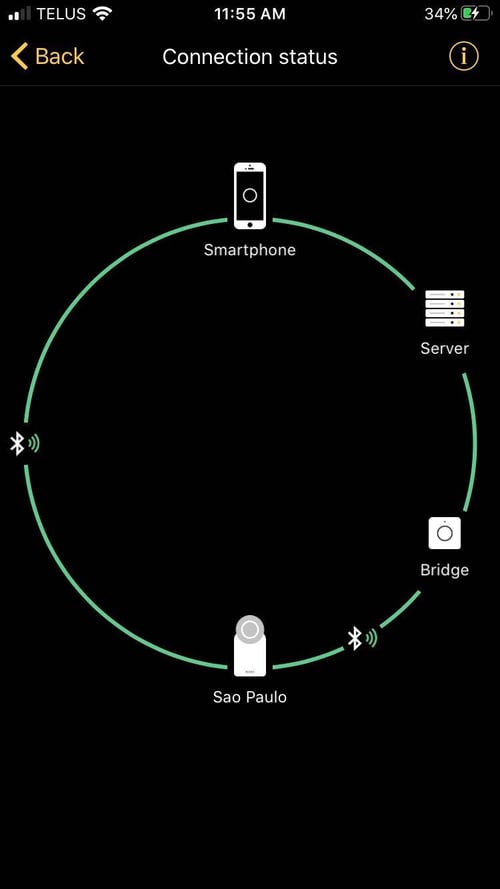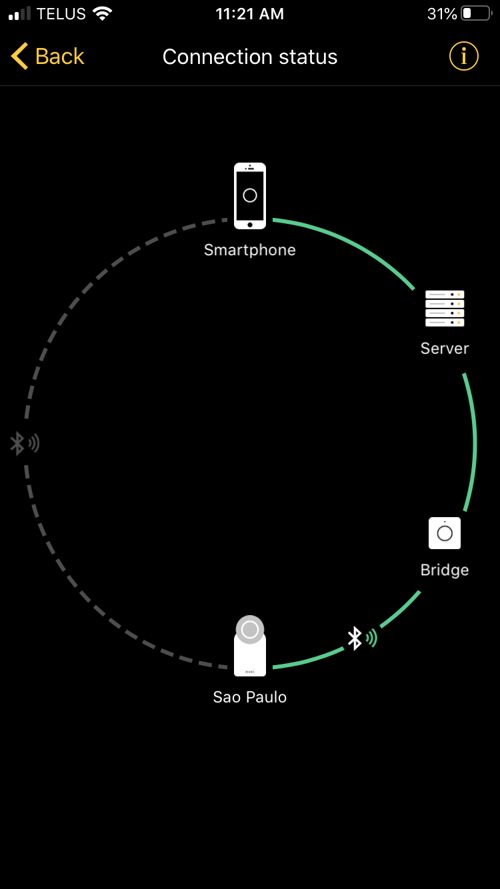

Step 1: Ensure the Nuki Bridge is showing on your device
Prior to changing wifi on the Nuki Lock & Bridge, ensure the Nuki Lock is already on your device (Step 3 of Guide Article)
Step 2: Connect the Bridge
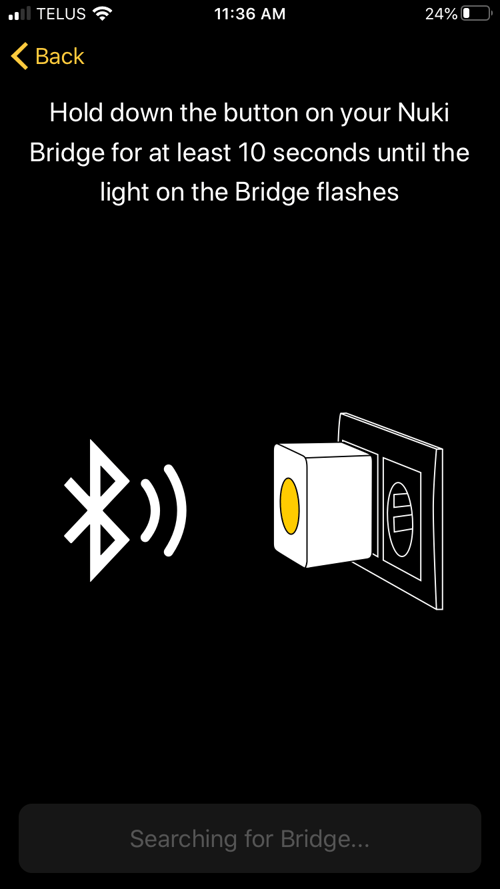
1. With your Bluetooth activated, connect the Nuki Bridge to your Device via the Nuki App - Settings >> Manage My Devices >> Bridge
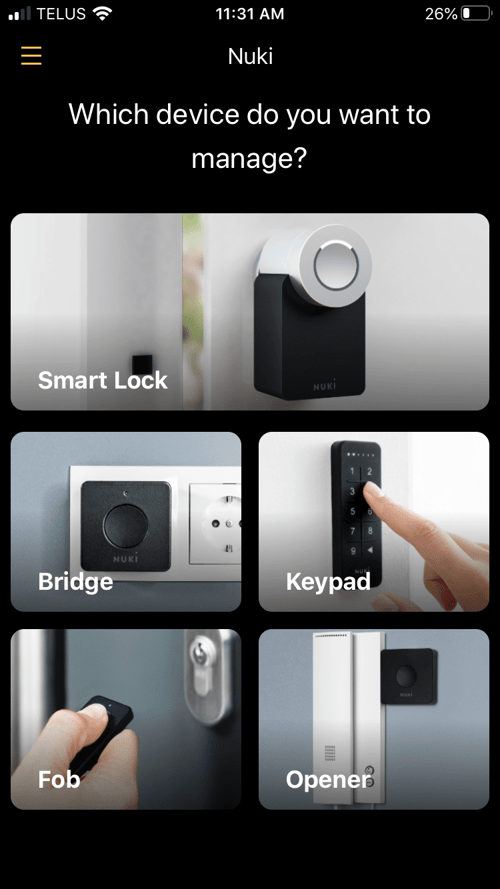
2. Click Manage Bridge >> follow prompt from the App and wait for a connection to the bridge (this may take a few minutes)
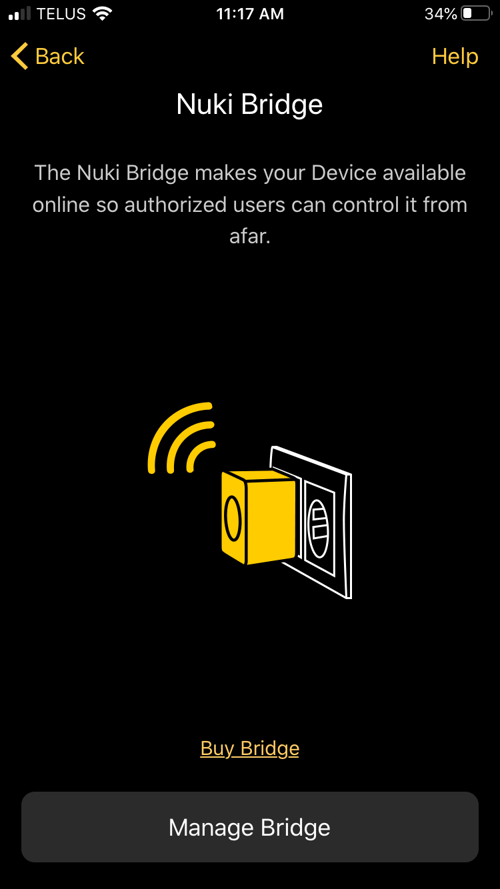
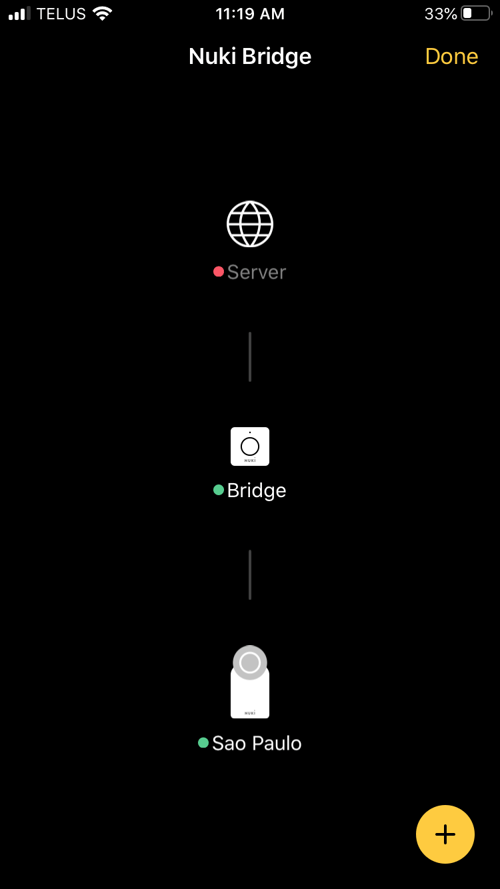
3. Once connected, you will see the Nuki Bridge show up, and the Server will show Red if not connected to your current wifi. You will need to update the Server.
Step 3: Connect to the Server
1. Click Server
2. It will prompt you to log in to your current wifi network and enter the password. Make sure to connect to the 2.4 GHz WiFi network as the bridge does not support the 5 GHz network.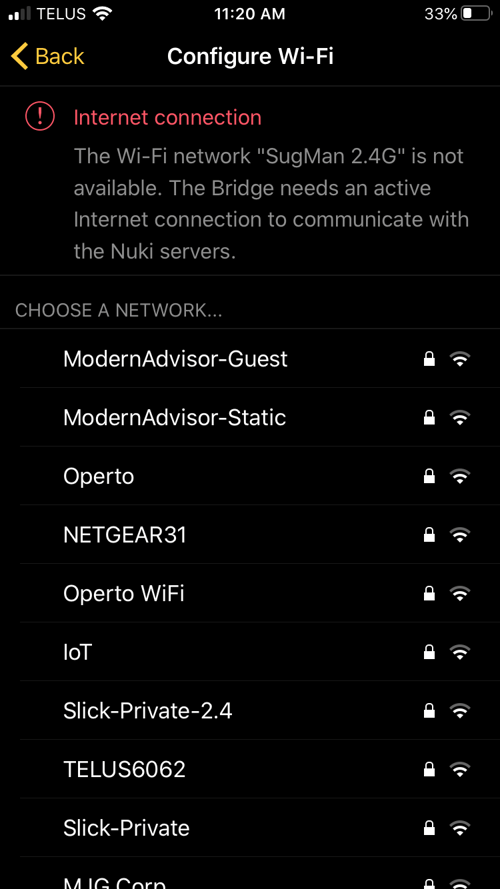
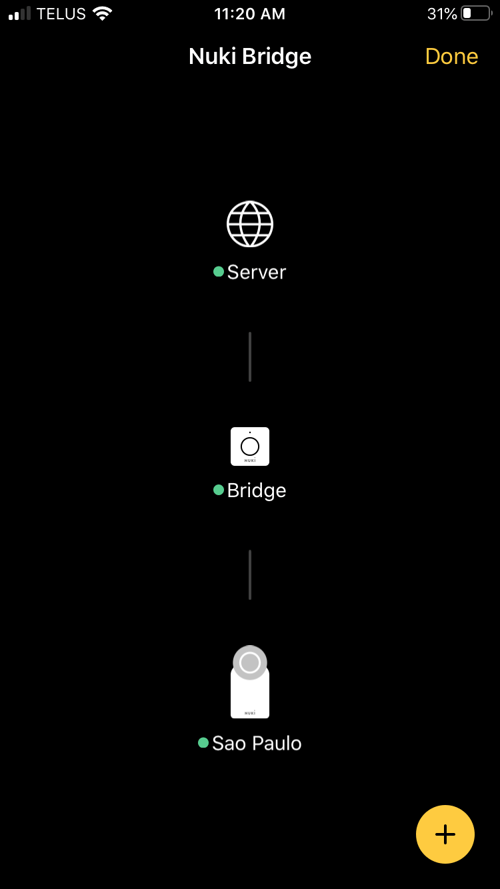
3. Once the wifi is connected, it will go back to Device Page and Server should show Green, then click Done.
4. You can now check that the connection is complete. Click on the lock >> Overview >> Settings >> Connection Status. From this screen, you can either see the full connection (if your Bluetooth is on) and the wifi connection (if your Bluetooth is off). Test both to ensure the wifi is working.