
Cloudbeds Integration Guide

Index
- Integrating Cloudbeds with Operto
- Generate Guest Portal link for Reservations
- Set up Email Templates
- Set up Email Schedules
Integrating Cloudbeds with Operto
- Login to your Operto account.
- Click here to navigate to the integrations page.
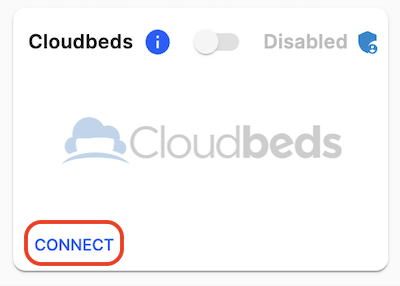
- Locate ‘Cloudbeds’ and click ‘Connect.’ This will open a new window.
- Read and 'Approve' the permissions required by Operto.
- You will be redirected back to the Operto dashboard. Once the Cloudbeds tile shows 'Enabled', click on the 'Re-sync' button to import the units.
- Navigate to the 'Units' tab under Properties on the left-hand sidebar of your Operto dashboard.
- Click on the 'Unactivated Units' tab to view all imported rooms.
Importing New Rooms from Cloudbeds to Operto
Operto will only import your rooms once after enabling the integration. To import newly added rooms:
- From your Operto integrations page, click 'Re-sync Units.'
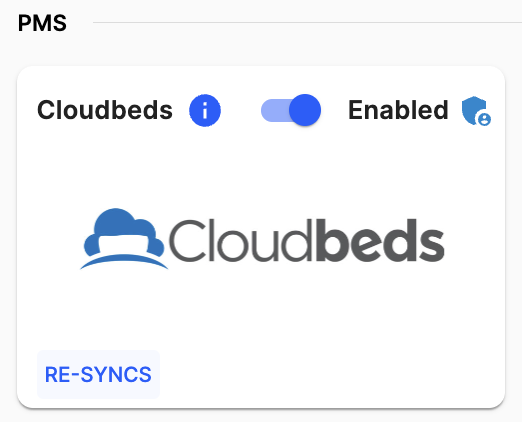
- DO NOT click the 'Enabled' button on the Operto Integrations page.

Generate Guest Portal link for Reservations
- If you have subscribed to Guest Portal with Operto, please follow these instructions to add the custom variable to your Cloudbeds account in order for the Guest Portal link to populate for your reservations.
Set up Email Templates in Cloudbeds
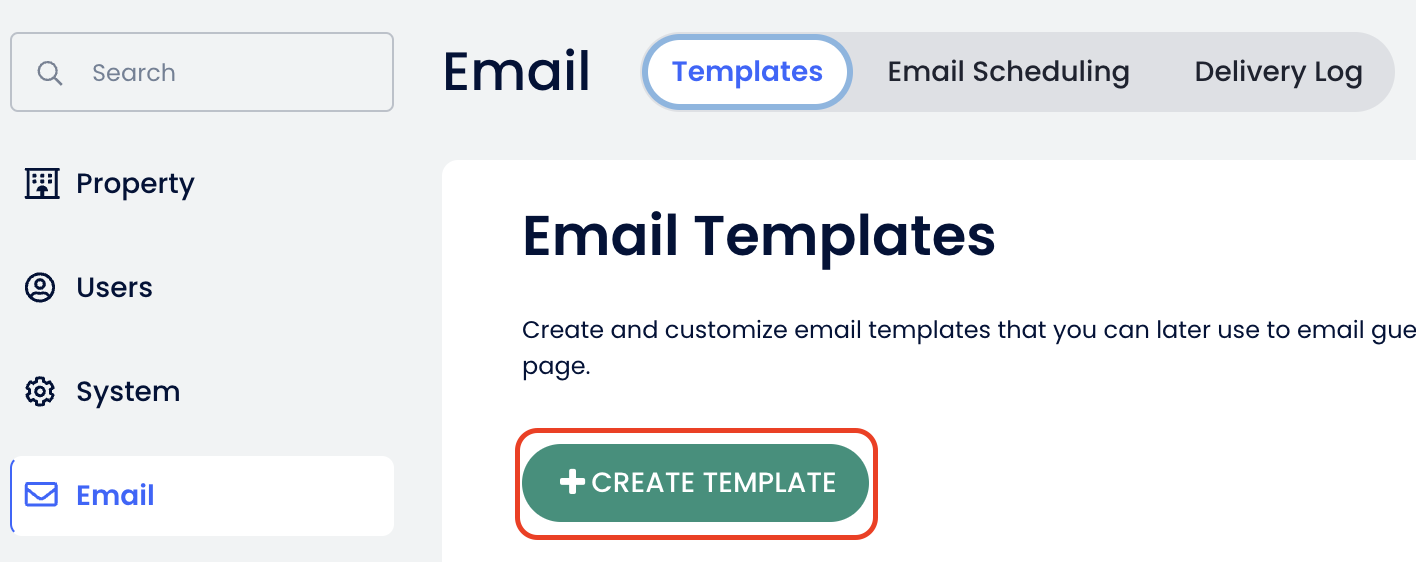
- Go to the 'Email' section, under the Templates tab, create a new template or press the gear button next to your existing check-in instructions template.
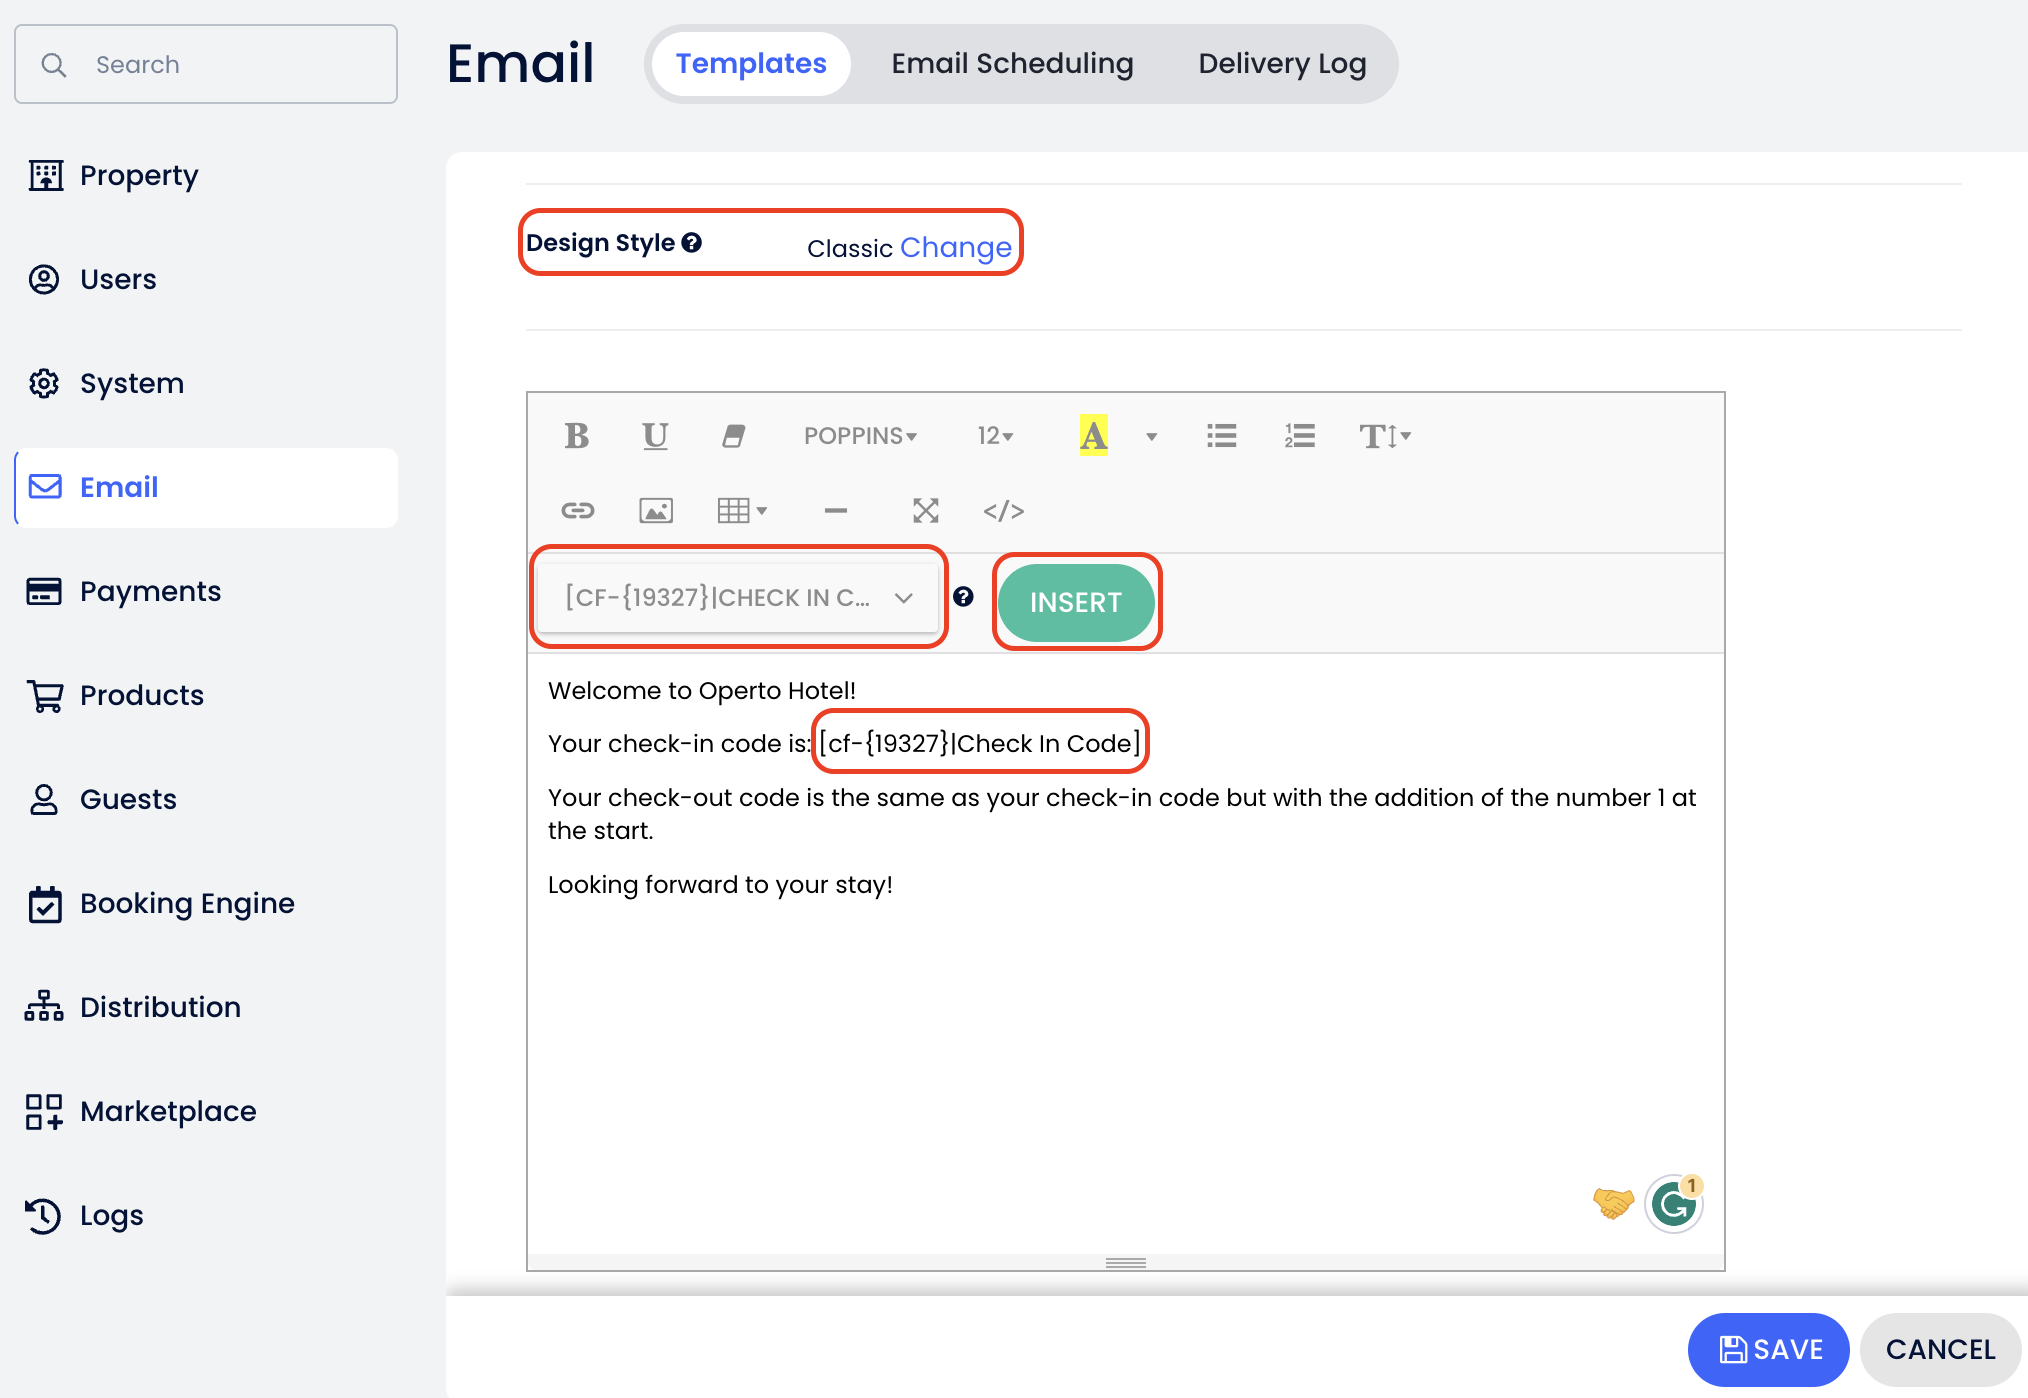
- Ensure you are using the 'Classic' design style and insert the Check-In Code or External ID variable from the dropdown menu.
- If using check-out codes, add a note in plain text instructing guests to add '1' in front of their check-in code.
Set up Email Schedules
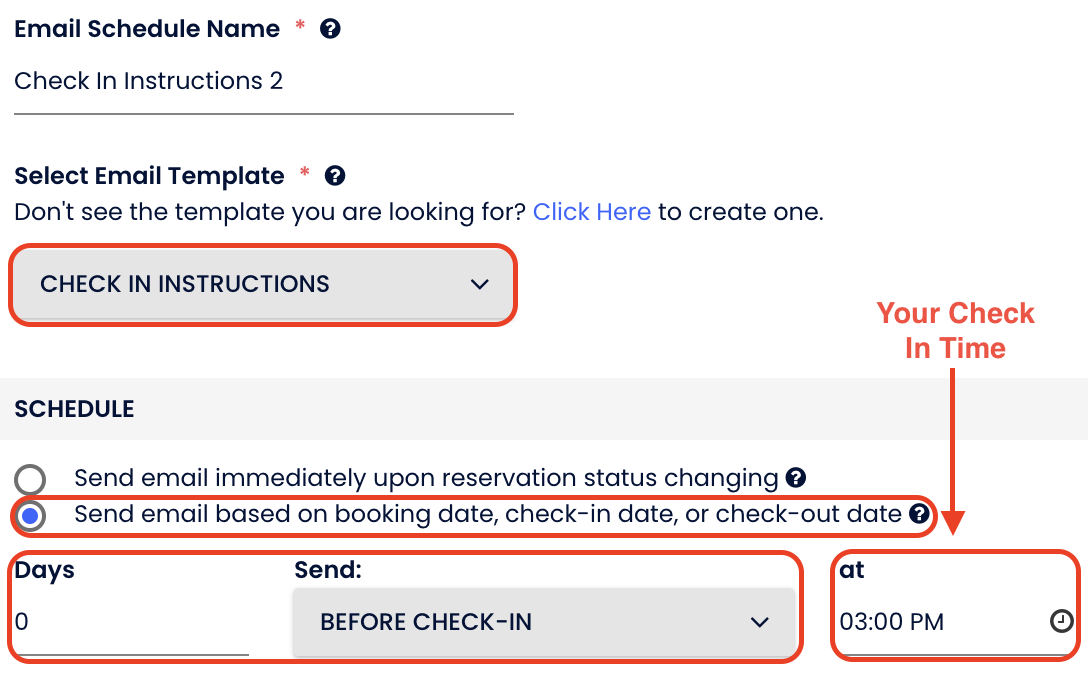
- Go to the 'Email Scheduling' tab and create a new email schedule.
- Set the first schedule to send emails one day after booking.
- Create another schedule using the same template but set it to send '0 days' before check-in, at the check-in time.
Generate Guest Portal link for Reservations
If you’ve subscribed to Guest Portal with Operto, follow these instructions to add the custom variable in your Cloudbeds account for reservations.